
DIY Tips for Small Home Renovation Projects


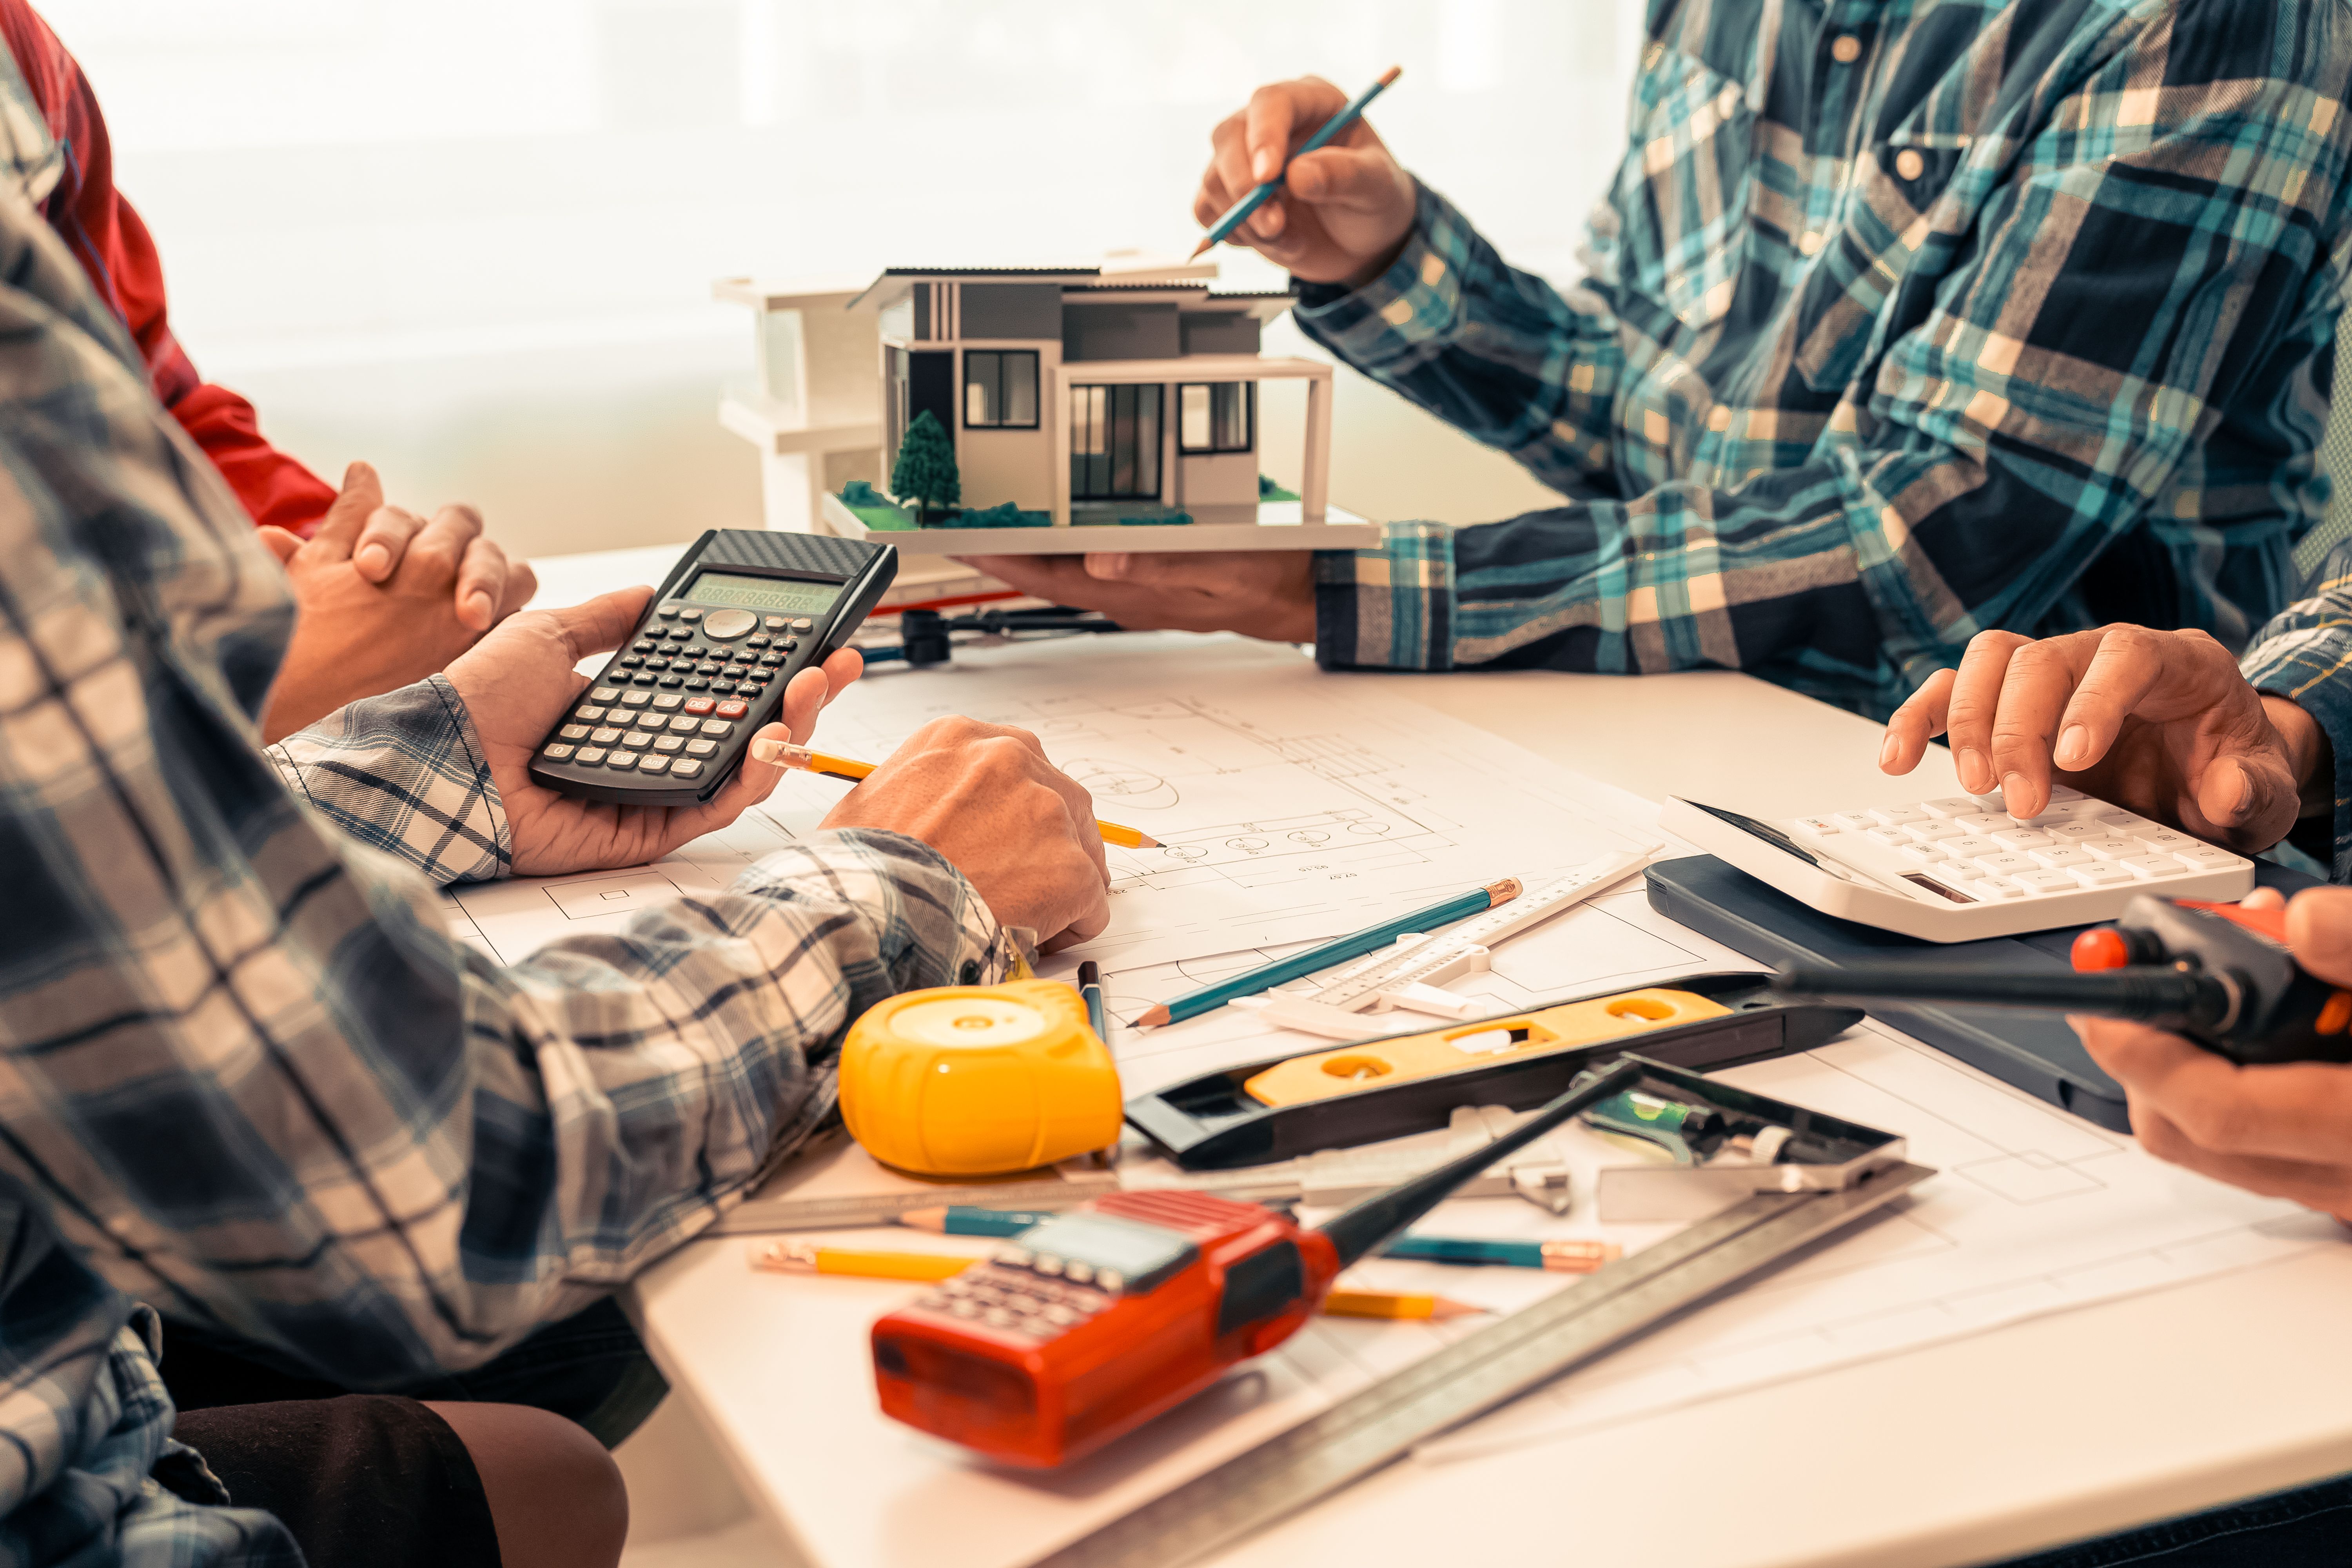
Planning Your Project
Embarking on a small home renovation project can be both exciting and daunting. The key to a successful DIY renovation is proper planning. Start by determining the scope of your project. Are you looking to refresh a single room, or do you have multiple areas in mind? Once you have a clear vision, create a detailed plan outlining the steps involved, materials needed, and a realistic timeline.
Consider setting a budget to keep your expenses in check. Research the average costs of materials and factor in any tools you might need to purchase or rent. Remember, unexpected expenses can arise, so it's wise to allocate some funds for contingencies.
Gathering Your Tools and Materials
With your plan in place, it's time to gather the necessary tools and materials. Basic tools that every DIY enthusiast should have include a hammer, screwdrivers, tape measure, level, and utility knife. Depending on your project, you might also need a power drill, saw, or paint supplies.
When selecting materials, quality matters. Investing in high-quality paint, flooring, or fixtures can make a significant difference in the final outcome. Take the time to read reviews or seek recommendations to ensure you're getting the best value for your money.
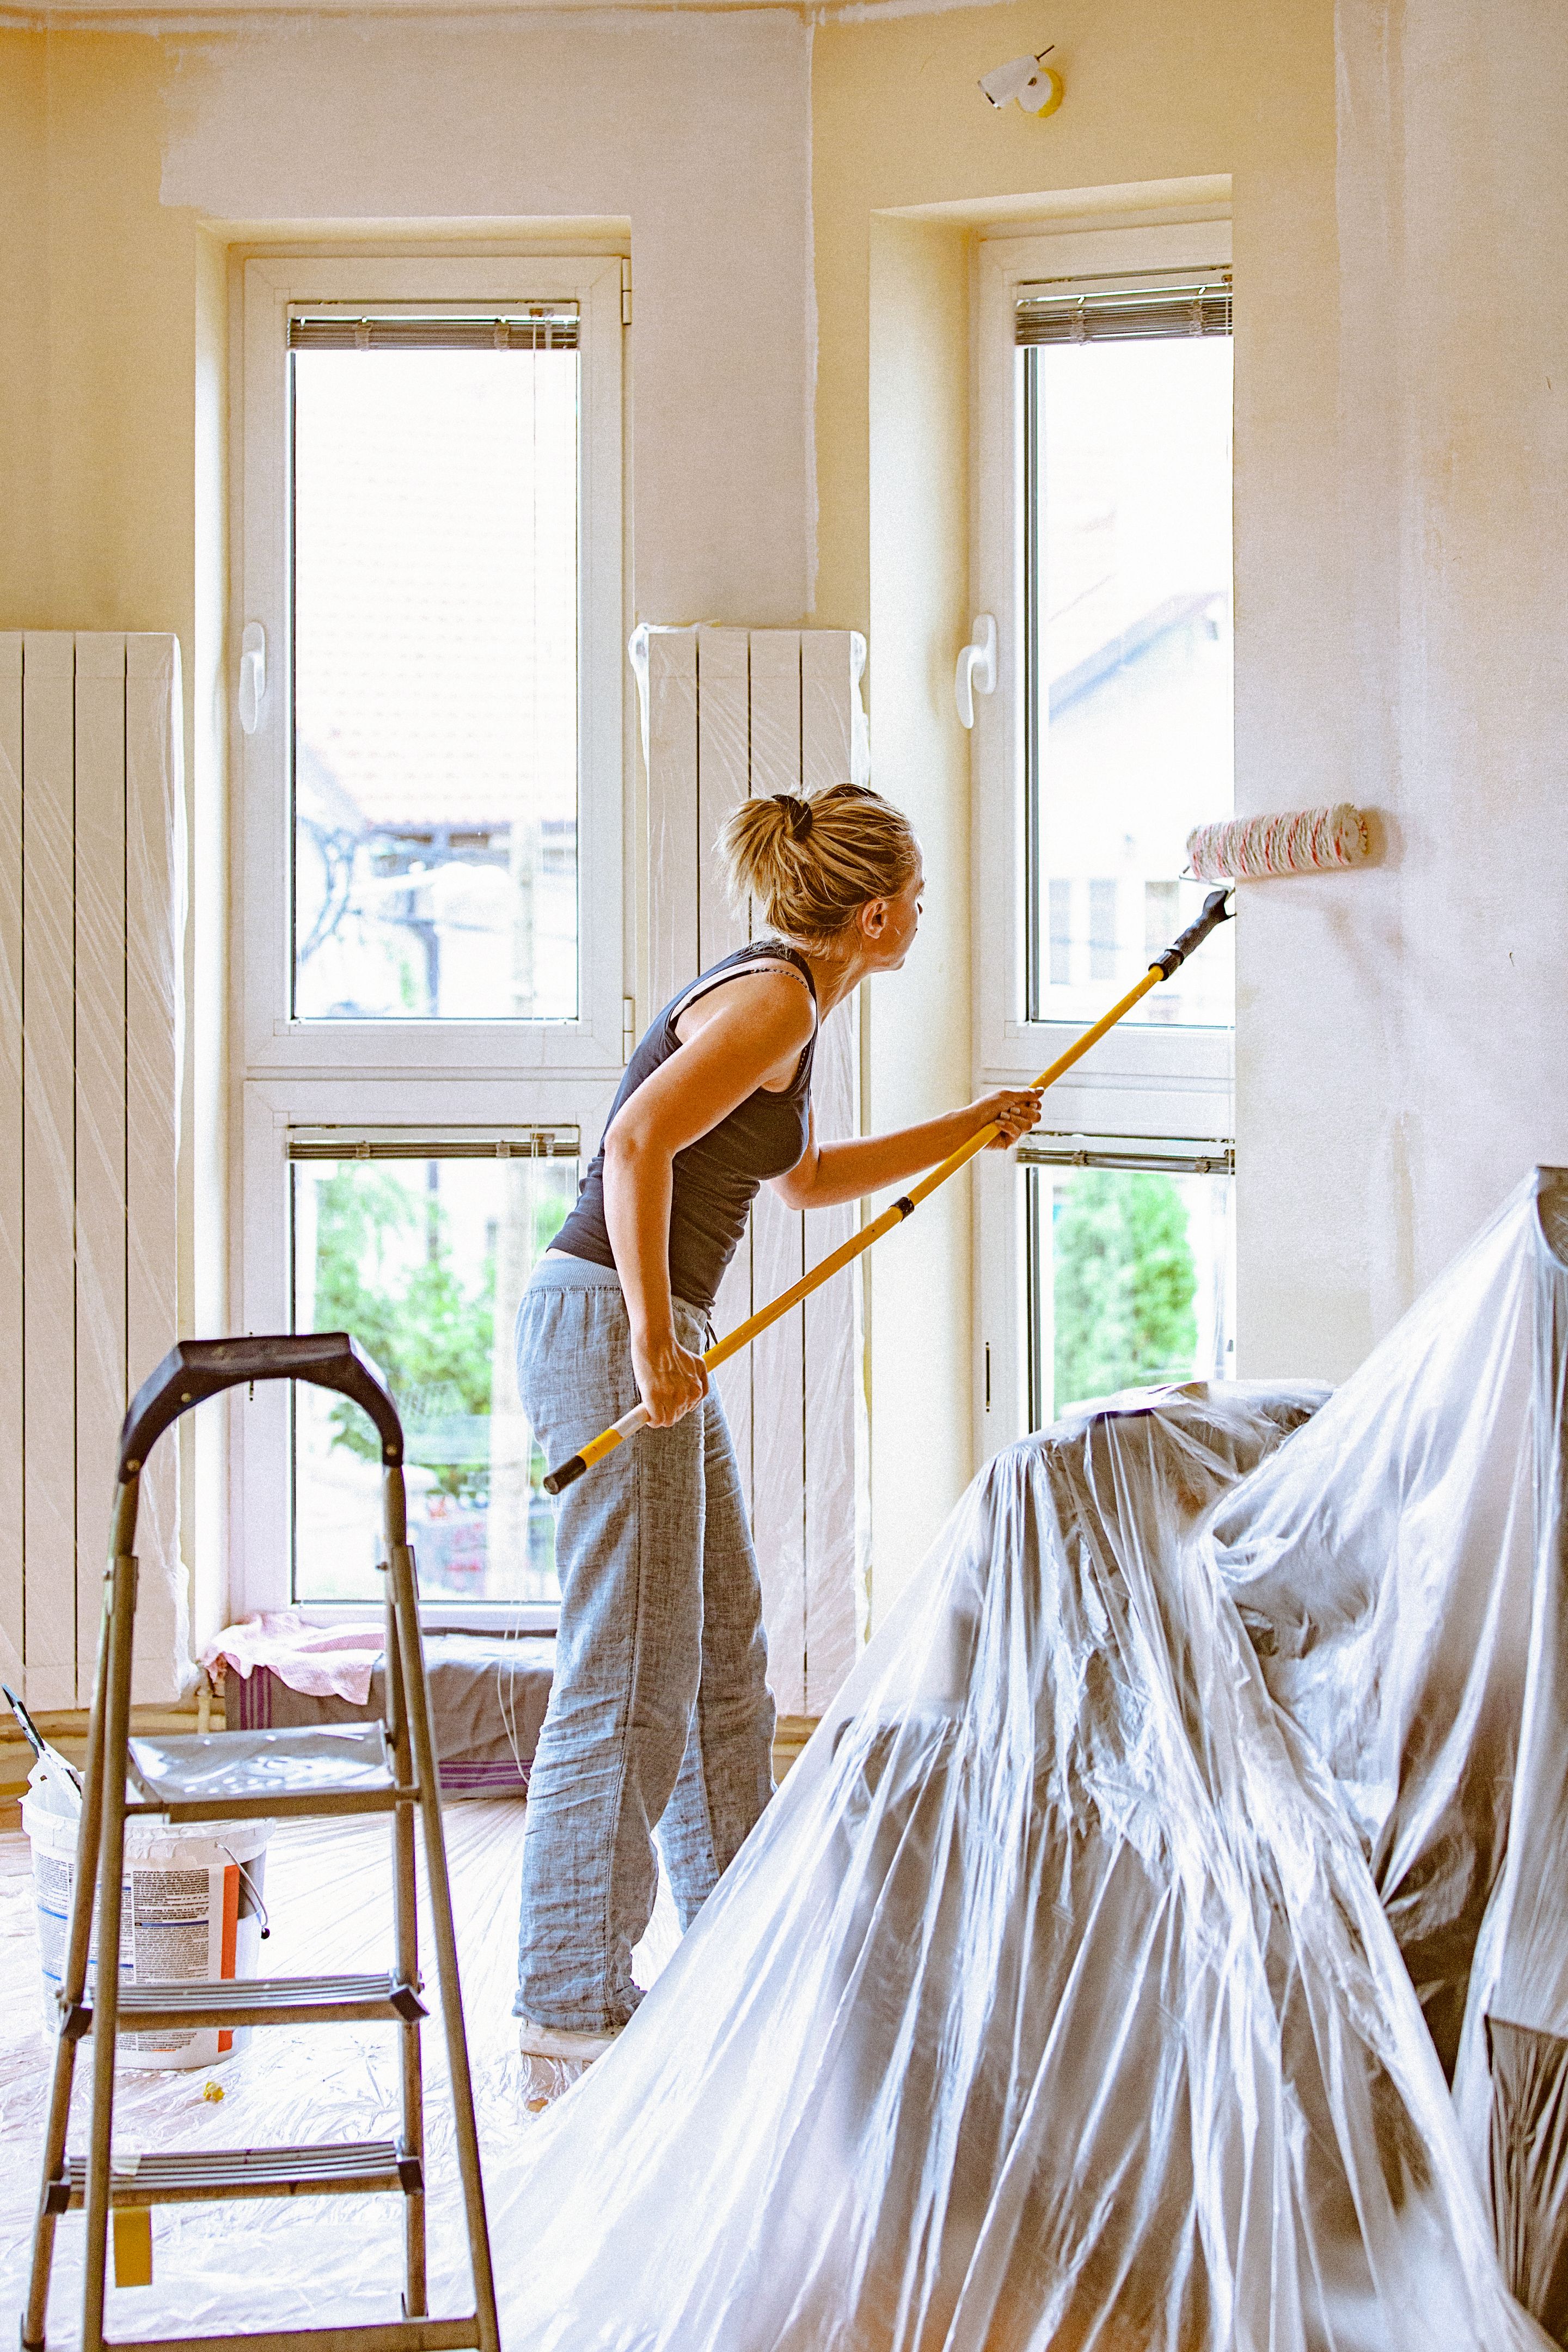
Prepping the Space
Before diving into the renovation work, proper preparation of the space is crucial. Start by clearing out furniture and personal items to avoid any damage. Protect floors and surfaces with drop cloths or plastic sheeting. If you're painting, use painter's tape to cover trims and edges for clean lines.

Ensure the area is well-ventilated, especially if you're working with paints or adhesives. Open windows and use fans to help circulate air, reducing fumes and improving the drying process.
Tackling the Renovation
Now that everything is set up, it's time to roll up your sleeves and get started. Follow your plan step-by-step to stay on track. Begin with structural changes like installing shelves or removing old fixtures before moving on to cosmetic updates such as painting or wallpapering.
Patience is key during this phase. Working methodically will help avoid mistakes and ensure a high-quality finish. Take breaks when needed to prevent fatigue and maintain focus on delivering your best work.
Finishing Touches
Once the main tasks are complete, it's time for the finishing touches that bring your vision to life. Adding new light fixtures can transform the ambiance of a room, while new hardware on cabinets can modernize an outdated kitchen or bathroom.
Consider incorporating personal elements like artwork, plants, or decorative items that reflect your style and make the space uniquely yours. These small details can elevate your renovation from good to great.
Cleaning Up
A successful renovation doesn't end with the last brushstroke or installed fixture; it concludes with a thorough cleanup. Remove all debris, packing materials, and protective coverings. Clean surfaces and vacuum or mop floors to ensure your newly renovated space is ready for use.
Dispose of waste responsibly, recycling materials whenever possible. Proper cleanup not only leaves your home looking pristine but also sets the stage for enjoying your refreshed space.
Final Thoughts
Tackling a small home renovation project on your own can be incredibly rewarding. By following these tips and maintaining a positive attitude, you can transform your living space without breaking the bank. Remember, every step you take is an opportunity to learn and refine your DIY skills for future projects.